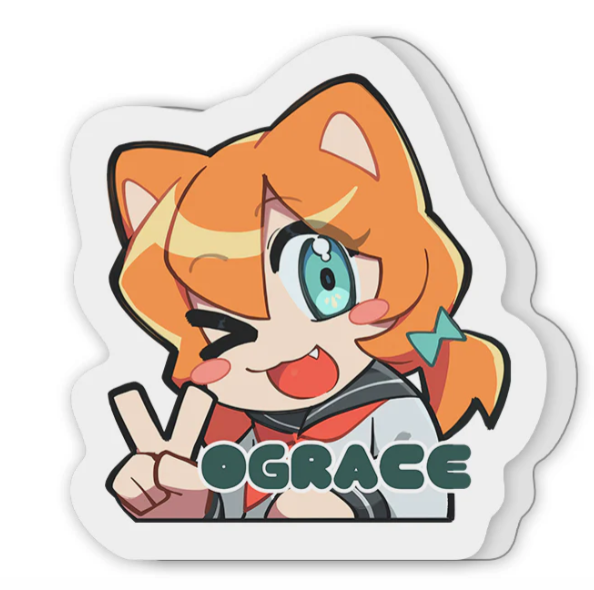
Customizing vinyl stickers is an exciting way to express creativity, promote a brand, or add a personal touch to everyday items. The process involves several key steps, from conceptualizing the design to the final production. Here’s a comprehensive guide to the perfect process of customizing vinyl stickers.
1. Conceptualization and Planning
Define Purpose and Audience:
Before starting the design process, clearly define the purpose of your custom vinyl stickers. Are they for marketing, personal use, event promotion, or artistic expression? Understanding the target audience will help tailor the design and messaging to meet their preferences and needs.
Brainstorm Ideas:
Gather ideas and inspiration for your sticker design. Consider the message you want to convey, the imagery that will resonate with your audience, and the overall aesthetic you aim to achieve. Sketching rough ideas or creating a mood board can help visualize the final product.
2. Design Creation
Choose the Right Software:
Select a design software that suits your skill level and project requirements. Adobe Illustrator and CorelDRAW are popular choices for professional designers due to their advanced vector capabilities. For beginners, Canva or other user-friendly graphic design tools can be sufficient.
Design Specifications:
Ensure your design meets the necessary specifications for printing. Create your artwork at a high resolution (300 DPI) and use CMYK color mode for accurate color reproduction. Set the dimensions according to your desired sticker size and include a bleed area (usually 1/8 inch) to prevent white edges during cutting.
Vector Graphics:
Whenever possible, use vector graphics instead of raster images. Vector graphics are scalable without losing quality, ensuring your design remains crisp and clear regardless of size adjustments.
Keep it Simple:
While intricate designs can be stunning, simplicity often works best for stickers. Clear, bold graphics and readable text make the design more impactful and easier to recognize from a distance.
3. Selecting Vinyl Material and Finish
Material Options:
Choose the type of vinyl that best suits your needs. Options include standard adhesive vinyl, removable vinyl, and specialty vinyl like holographic or glitter. Consider the application surface and conditions—outdoor stickers benefit from weatherproof vinyl, while indoor stickers may not require the same level of durability.
Finish Types:
Decide on the finish for your vinyl custom stickers. Glossy finishes are vibrant and eye-catching, while matte finishes provide a subtle, sophisticated look. Specialty finishes like metallic or transparent can add a unique touch to your stickers.
4. Proofing and Approval
Create a Proof:
Once your design is complete, create a proof to review before finalizing the order. A proof is a digital or printed sample of your sticker design, showing how the final product will look. It helps identify any issues with color, layout, or text that may need adjustment.
Review and Edit:
Carefully review the proof for any errors or discrepancies. Check for spelling mistakes, color accuracy, and alignment issues. Make any necessary edits to ensure the design is perfect.
Approval:
After making adjustments, approve the final design for production. Confirm that all design elements are correct and that you’re satisfied with the overall look.
5. Printing and Cutting
Choose a Printing Method:
Select the appropriate printing method based on your budget and quality requirements. Digital printing is cost-effective for small batches and offers excellent color accuracy, while screen printing is ideal for large quantities and provides vibrant, long-lasting prints.
Cutting Process:
Decide on the cutting style for your vinyl stickers. Kiss-cut stickers are cut through the vinyl layer but leave the backing intact, making them easy to peel. Die-cut stickers are cut through both the vinyl and backing, following the exact shape of the design. Choose the cutting method that best suits your design and application needs.
Production:
Send your final design to a professional printer or use a high-quality home printer if you have the necessary equipment. Ensure that the printer uses durable inks and high-quality vinyl materials for the best results.
6. Quality Control and Packaging
Inspect the Stickers:
After printing and cutting, inspect the stickers for quality assurance. Check for any printing errors, alignment issues, or defects in the vinyl material. Ensure that the colors are accurate and that the stickers meet your expectations.
Packaging:
Package the stickers appropriately to protect them during shipping and storage. Use protective sleeves or envelopes to prevent damage. For larger quantities, consider using boxes with padding to keep the stickers secure.
7. Application and Usage
Surface Preparation:
Prepare the surface where the stickers will be applied. Clean the area thoroughly to remove dust, grease, or debris. A clean surface ensures better adhesion and longevity for the stickers.
Application Technique:
Apply the stickers carefully to avoid air bubbles or misalignment. Start by peeling back a small section of the backing, align the sticker on the surface, and gradually peel away the rest of the backing while smoothing out the sticker with a squeegee or credit card.
8. Marketing and Distribution
Promote Your Stickers:
If the stickers are for marketing purposes, develop a distribution plan. Use them as giveaways at events, include them in product packaging, or sell them as merchandise. Leverage social media and your website to showcase the stickers and reach a broader audience.
Customer Feedback:
Encourage feedback from customers who receive or purchase your stickers. Their insights can help improve future designs and customization processes.
Conclusion
Customizing vinyl stickers is a multi-step process that requires careful planning, design, and execution. By following this guide, you can ensure that your vinyl stickers are of the highest quality and meet your specific needs. From conceptualization to application, each step is crucial in creating stickers that are durable, visually appealing, and versatile. Whether for personal use, business branding, or artistic projects, custom vinyl stickers offer a creative and effective way to make a lasting impression.

